8 lipca 2026Nowość
Nowa aplikacja Modernhunter –
w Apple i Google.
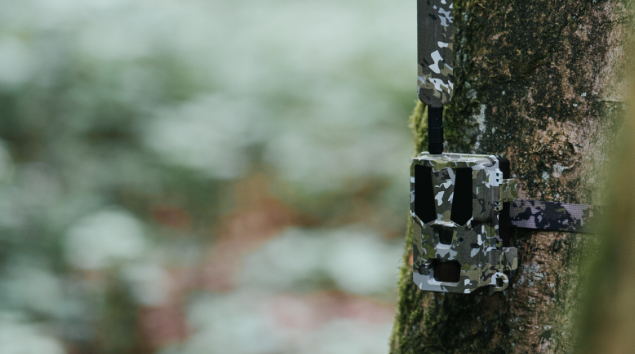
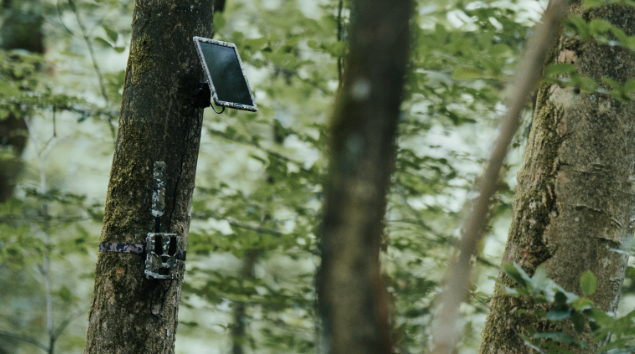
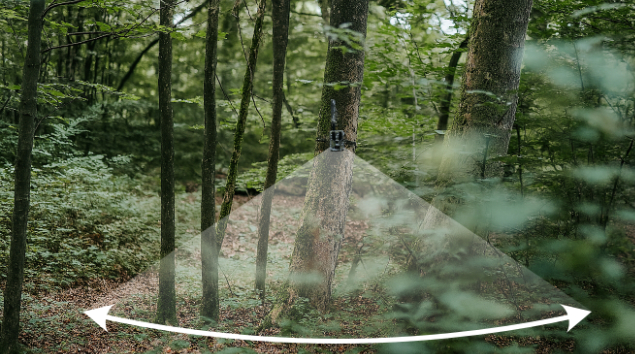
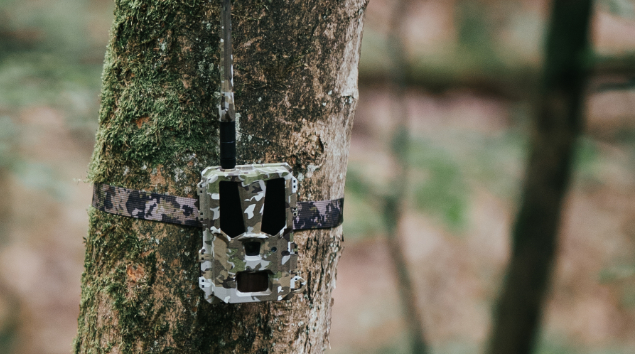
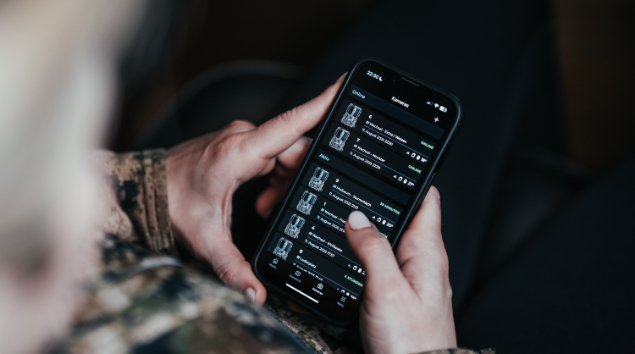
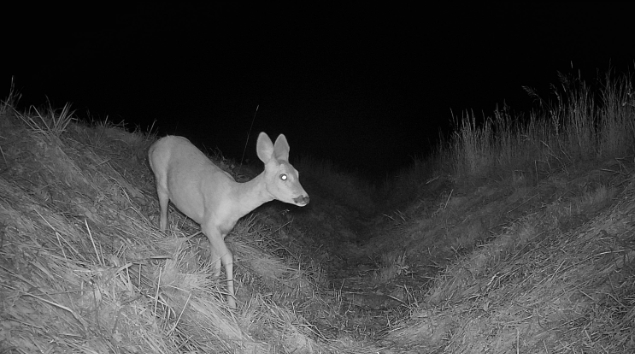
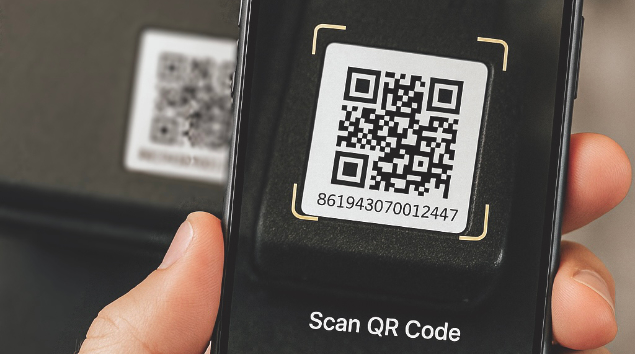
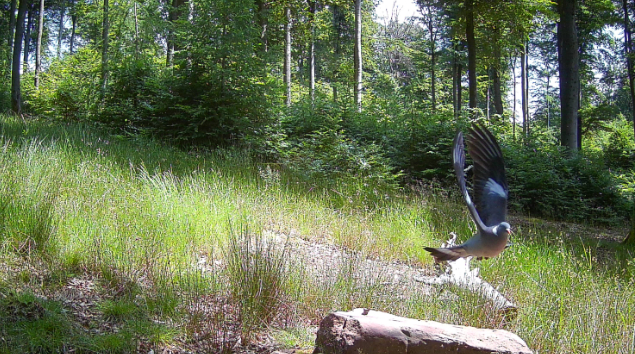
Nowa wersja naszej aplikacji Modernhunter jest już dostępna – zarówno w Apple App Store, jak i w Google Play. Pobierz ją teraz i miej swoje łowisko na oku bezpośrednio z telefonu.